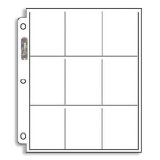
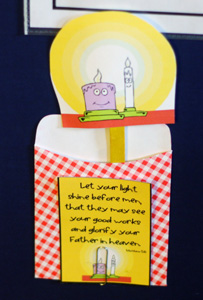
We put our cards
in these..

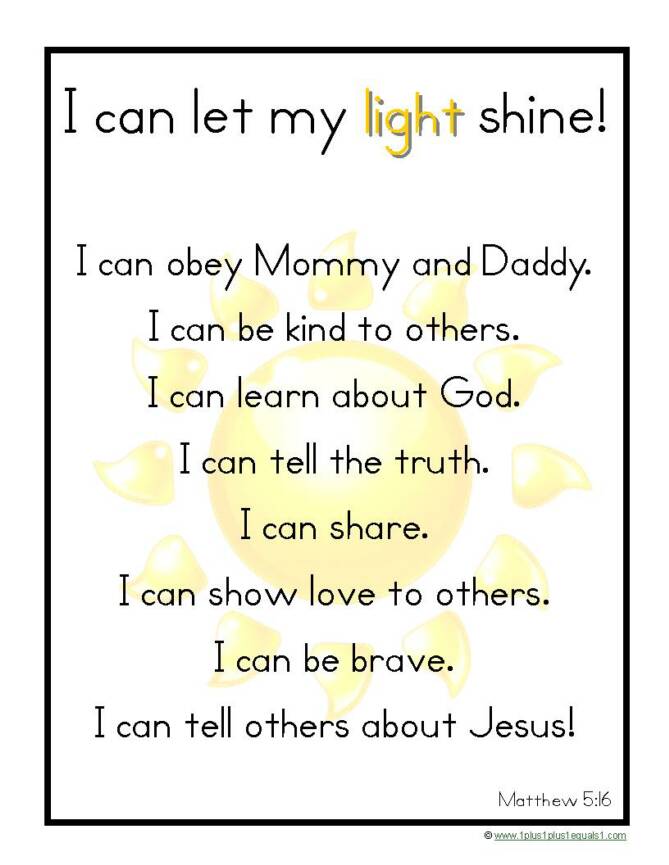


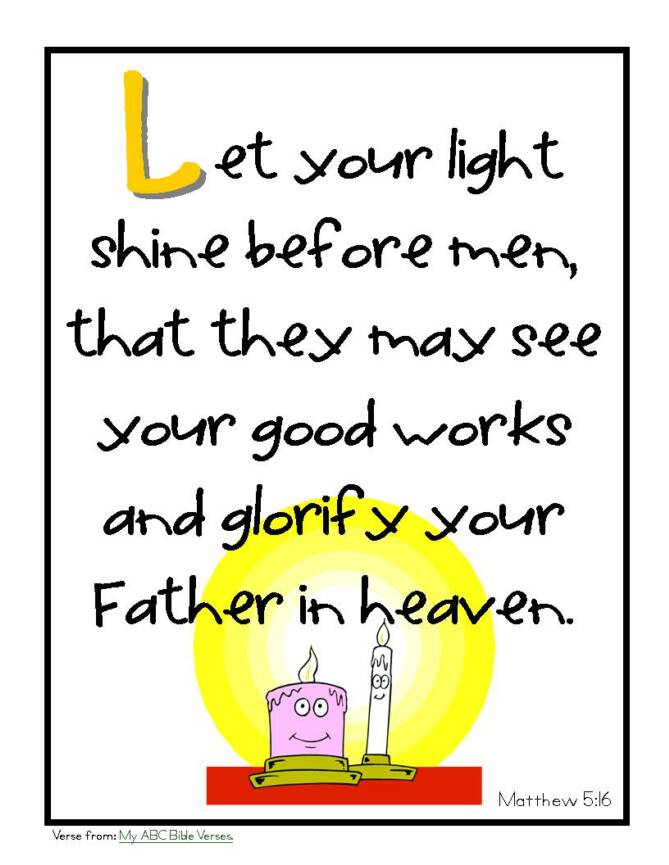
Introduce the new large verse sheet, hang it in a central place to leave up throughout the entire unit.
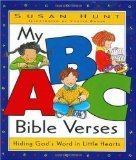
Read the story from My ABC Bible Verses, engaging in as much discussion as your child will allow!
~Do this each day if your child likes re-reading! We read it every day!
Introduce the "Applying the Verse" sheet and talk about different ways the verse is meaningful to your child.
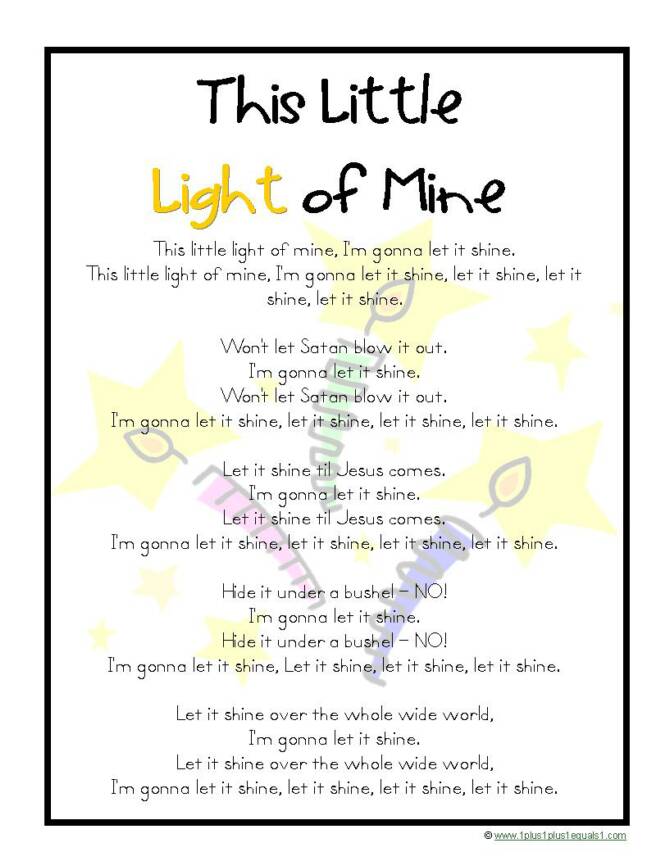
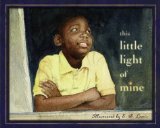
STAND UP and sing This Little Light of Mine. Hook up your iPod or play a CD with the song too. Have fun dancing and moving to the song!
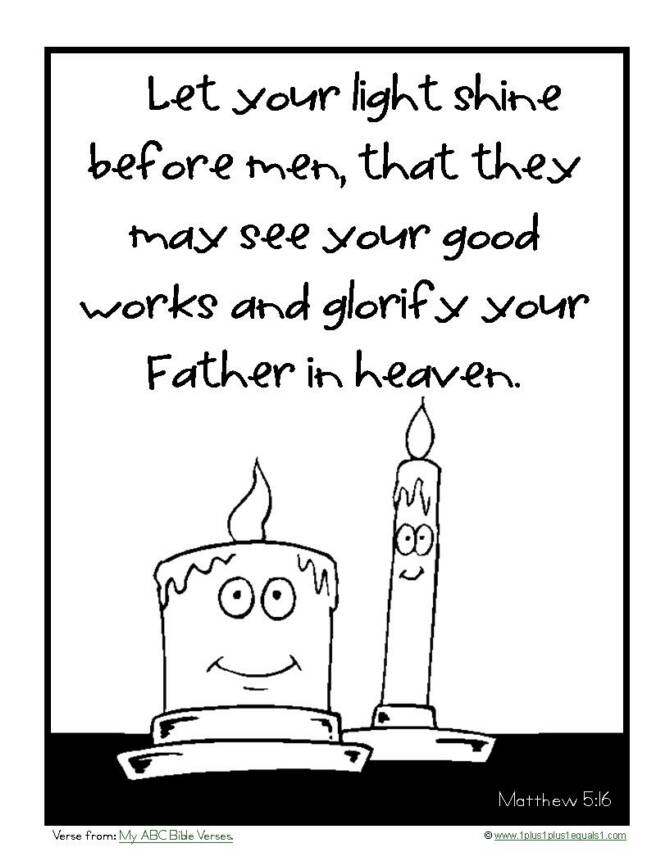
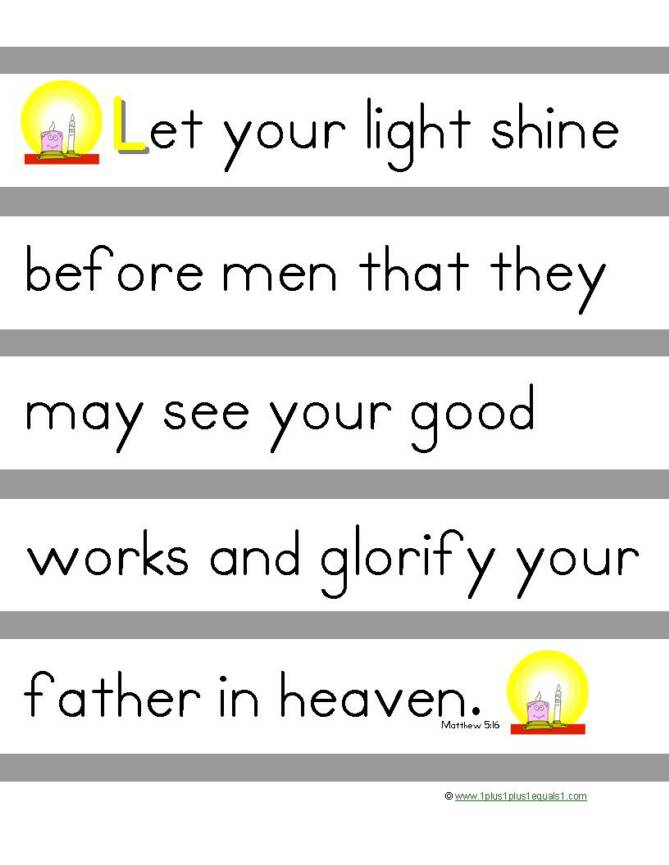
Review the verse, by reading it and having your child color the coloring sheet.
If your child is ready for cutting practice, have him/her cut on the solid gray lines. Help your child put the verse together in order. Tape it together!
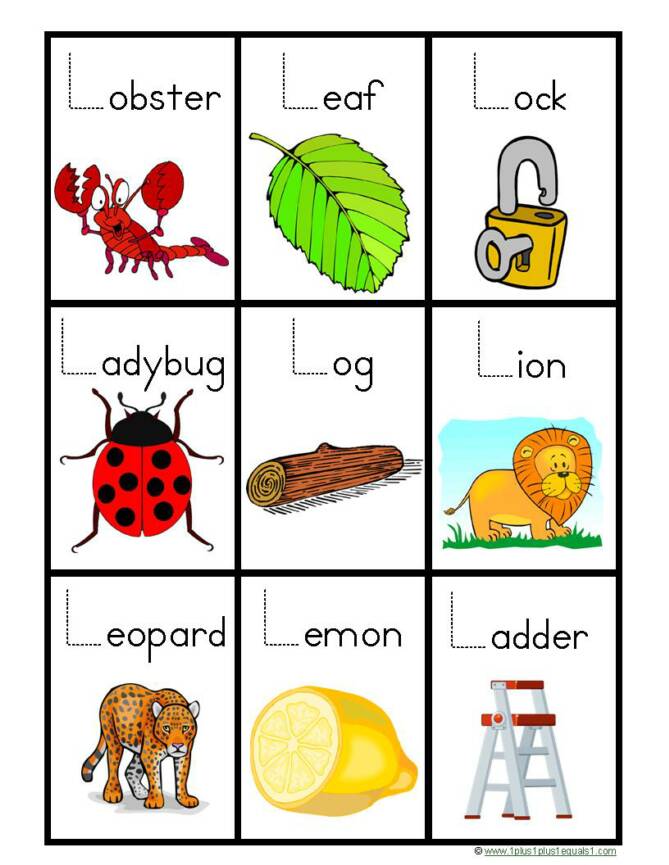
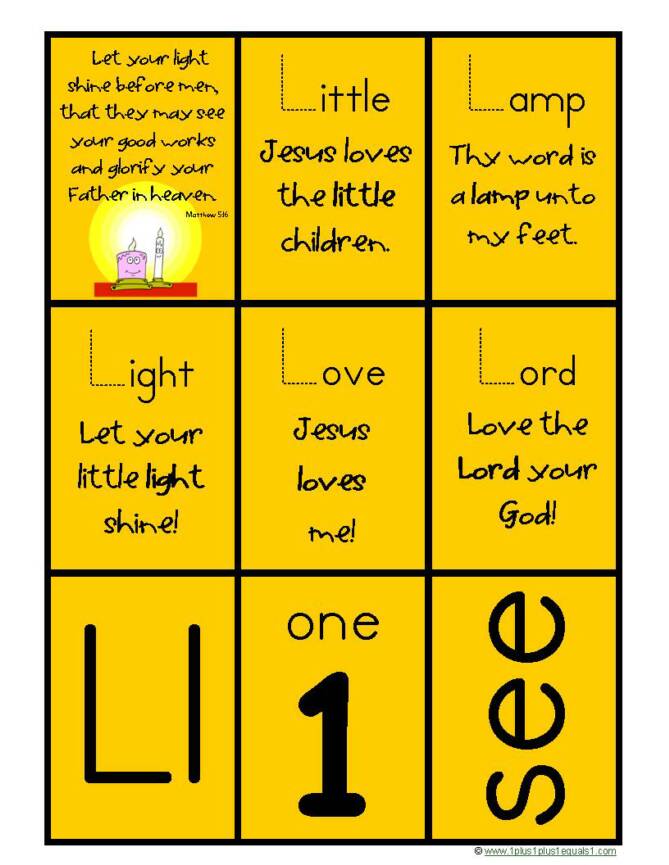
Share the other "L is for..." cards and talk about each one. Sing if it is a song, discuss if it is a phrase! Place the cards in your notebook if you are keeping one!

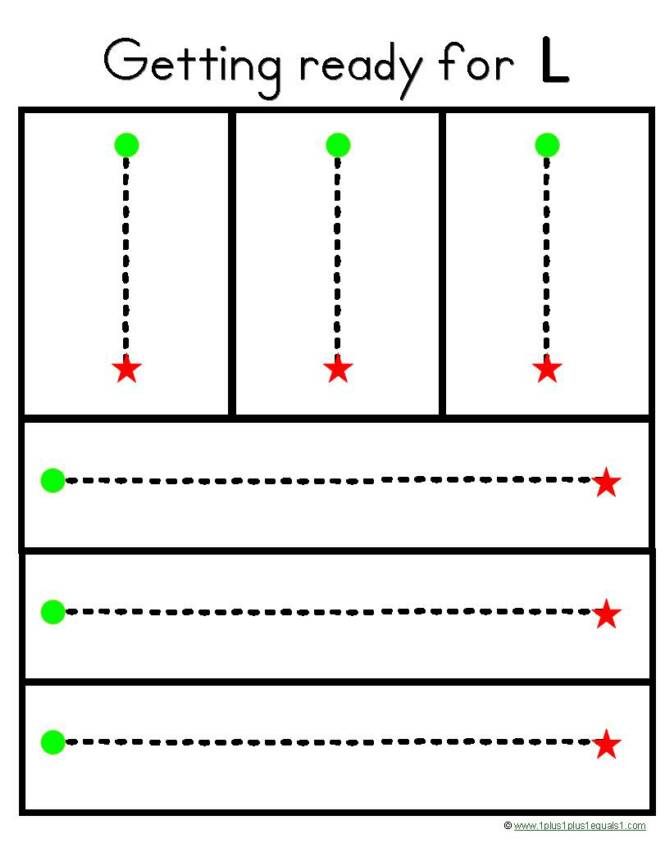
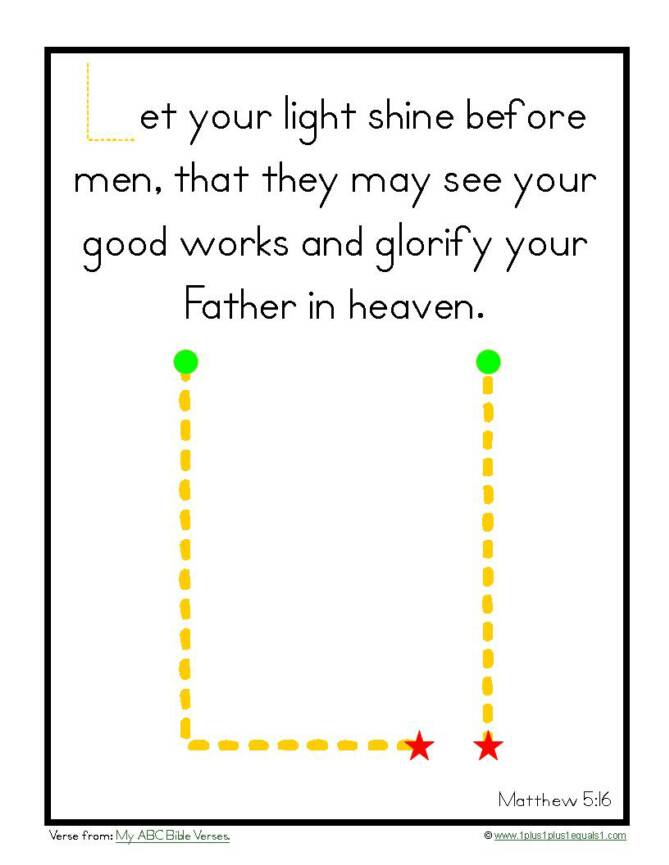
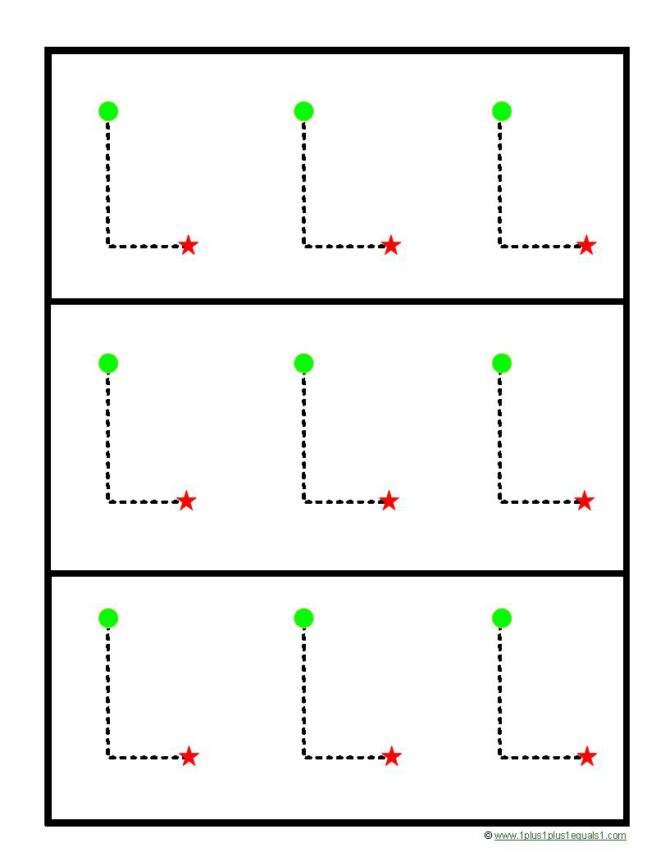
Introduce writing the letter L. First, help your child with proper pencil grip as s/he traces the "Getting Ready for L" sheet.
Review the verse and find the letter L in it! Have your child trace the big letters!
~I include the lowercase letter also, but the primary focus is learning to write the upper case first (based on the types of lines in each letter shape).
Show your tot the "L is for..." sheet and review tracing the letter L. Cut these apart with your tot-allowing him/her to cut if able.
~If your child isn't "into" tracing, don't require him/her to trace each L, just the ones s/he is ready for and enjoys! You can always come back and do additional tracing later on!
Do a final review of everything, even putting everything in your notebook together {if your child enjoys that}.

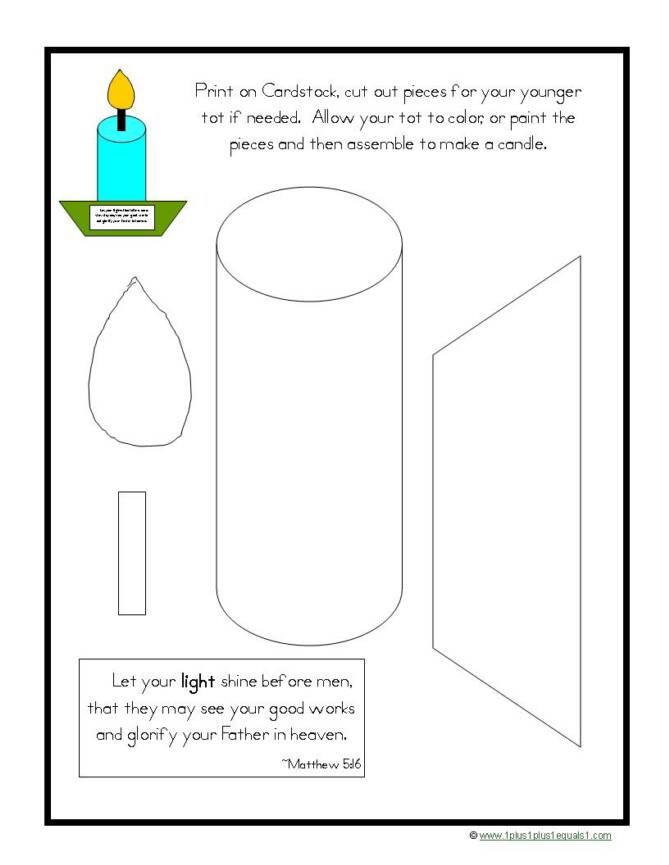
Help your child complete the cut-color-glue craft project for the verse. Display the final product to share with the family!
We have this mini-pocket chart, it's great!
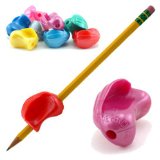
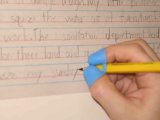
Be sure to teach proper pencil grip from the start!
I tell K to use his "pincher-pinchers" which he thinks is funny, he knows what it means and will hold properly without a tool. If your child has trouble, here are some products that may help...

These are the training scissors Krash used (he uses normal kid scissors now at age 4), which were awesome! can find them here on Amazon.
 | ||||||
Mommy... Be Prepared!
- Pray for God to lead you as you lead your child!
- Print your materials, organize them in the order you plan to present them {but also know that you may change your mind}.
- Gather at least 3-5 supplemental books for reading fun!
- Choose your songs, learn the tunes or have your cds/iPod ready to go!
- Gather any needed supplies...pencils, crayons, scissors, glue, etc.
| ||||||
Main Concepts...
- Verse: Matthew 5:16
- Letter: L
- Color: Yellow
- Number: 1
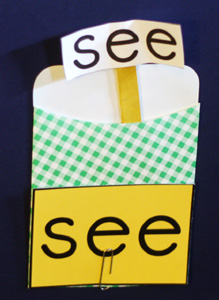
- Sight Word: see
- Song: This Little Light of Mine
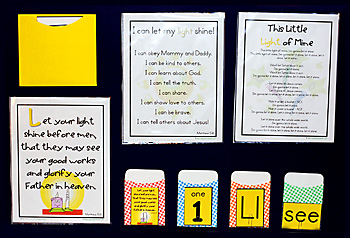
This is our Raising Rock Stars board. The purpose of the board is to keep consistency, which actually helps me as a mom the most! By keeping the items changing out in a similar fashion, I don't have to "think" too much as I prepare materials for each new lesson. I created a format that works for us.
Everything is stuck to a foam poster board. The papers are inside of sheet protectors. I used library pockets with paperclips on the outside for the bottom. The old cards are inside for review, the new are on the outside. The top left pocket is for the other smaller items. I also have an envelope hooked on the back for the other full-sized printables.
I keep our supplemental materials on a wall shelf (from Ikea) above our main board, so they are easily accessible.
STAND UP-sing another song you have chosen, or sing This Little Light of Mine each day {that's what we do}!
Read another book too!
STAND UP-sing another song you have chosen, or sing This Little Light of Mine each day {that's what we do}!
Read another book too!

Review the verse
Read the story
Review key cards
Review life application
Sing!
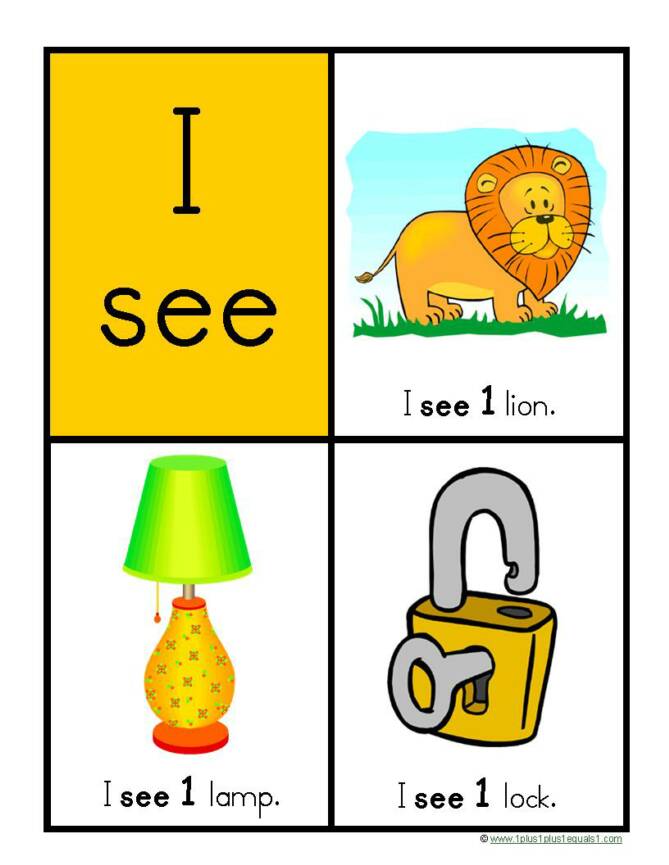
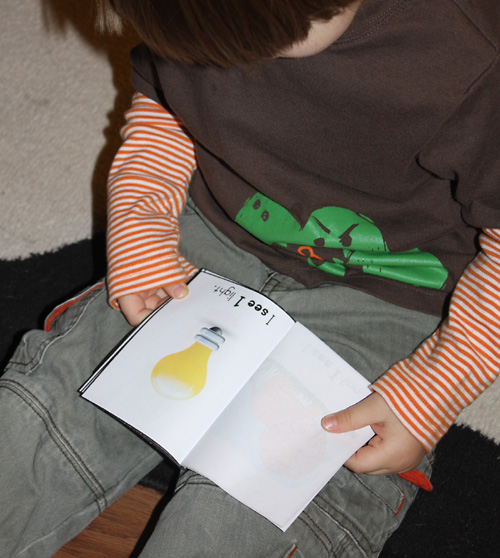
Read the easy reader
Read a book, or a Bible story
Use your popsicle stick prop while singing!
Use your other popsicle stick props to go on letter/number/word hunts too!
Introduce the easy reader and the key cards. If your child isn't ready for sight words, just have fun with it-DON'T force it, as knowing sight words is not a typical preschool skill! Have fun with this, reading should always be fun, especially while they are learning!
~ Review the EACH DAY items, before you do any new work, or after ~

ALL CHILDREN ARE DIFFERENT! I hesitated to even provide a sample plan because I believe fully that children at this young of an age are so very different. We as moms have to know them and read their cues and moods. It is a tough balance to have high expectations {in a good way} while also not exasperating our young ones while teaching them. Please know that even we stray from this outline, I am always adjusting to the needs of my child. If he is not in the best mood, we just do a bit less on a particular day. We can plan all we want for young children, but we have to be sensitive to their needs.
Use this page as a starting point to brainstorm. Try out a week and see what works for you. For some kids this unit will work in 1 week, for others it will take more. Use the terms "Day 1, 2, etc. loosely. Always remember to be flexible!


~ Review the EACH DAY items, before you do any new work, or after ~


STAND UP-sing another song you have chosen, or sing This Little Light of Mine each day {that's what we do}!
Read another book too!
~ Review the EACH DAY items, before you do any new work, or after ~
{Click to enlarge and see captions}
- I put everything in a giant 3 ring binder, to keep as a memory for preschool, and also to use as a review. You can download the cover for the binder here on the RRSP homepage.
- I print everything on "Fast Normal" to save a bit of ink ;-), using cardstock for the mini cards and the popsicle stick props. I use sheet protectors on the display board and also in the final notebook to keep things nice. I don't laminate anything for this program {which actually amazes me since I am a bit addicted to my laminator}. You could laminate things of course, I just don't to save $.
- I do the daily activities along with our normal preschool Workboxes {read my Behind the Scenes post about Preschool Workboxes here}. I mix the daily activities in with our other work-which is mostly based on a weekly theme. If you want to see this in action, visit my weekly Preschool Corner posts.
- Our theme of the week does NOT coordinate with this program. I also do fun themes, and don't worry about whether they "match" or not. Preschoolers could care less-it's us moms that make a big deal over that type of stuff! We do tons of mismatched stuff!
- We use many learning toys and tools in addition to this program, still using many of our Tot School Tools!!! You can visit our Preschool Tools Store here to see some of our favorites.
- We began this program when my son was just turning 4. ALL kids are different. Please don't force advanced skills on a young tot who is not ready, but also be sensitive to when your child is ready to be challenged. If you are curious, to see if your child is ready for this type of program, I recommend Kumon workbooks. If you'd rather not purchase the workbooks, here are a few simple assessment pages to see how your child does! If your tot does well with these, s/he is probably ready for this program. Your child does not need to know all of the items, but this will give you a good idea. If your child is frustrated by everything presented...stick to simple Tot School for now! For me, I knew my son was ready when he showed interest in coloring, drawing, "writing", cutting, and various skills.
- If you are looking for even more guidance, see my YouTube videos here! I don't like being on camera, and be prepared for my southern accent {even though I haven't lived in the south for many years}. I know some of you need to hear and see, which is why I made the videos. If you have a request for me to make a video of, let me know, I'd love to help {if I can find the time}.
- We also have a Members Only section which offers interactive PowerPoint shows that go along with each unit. You can see info about that here.


Have your child practice writing the letter. S/he may not be up for doing all in one day...space it out if needed. You can always cut these in strips and do one strip at a time.
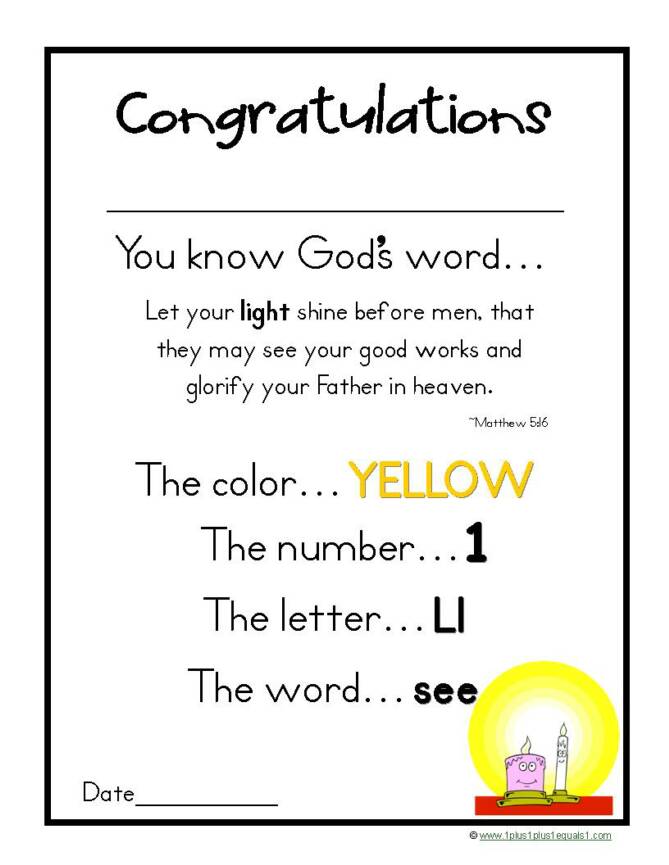
Complete the Congratulations certificate and put items in your notebook together as a review.
Read more books, sing more songs and repeat any activities your child particularly enjoyed!


Sample Lesson Plan
for the letter...

All material provided on this website,
1plus1plus1equals1.com is copyright protected

Custom Search